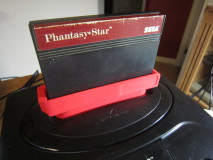
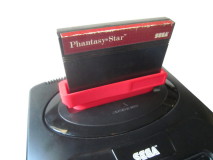
SMS to Megadrive/Genesis cartridge adaptor
Introduction
I had known for a long time that Sega Master System (SMS) games can be played on a Sega Megadrive/Genesis (SMD) console using a simple 50 to 64 pin adapter, and thought a few times about making one. So when I was told my SNES to SMD controller adapter did not work when a SMS game was being played, it was all I needed as an excuse to design and build an SMS to SMD adapter.Specifications:
- Supports 50 pin SMS cartridges (i.e. Non-japanese SMS)
- Tested with Genesis/Megadrive models 1 and 2 (North-american and japanese systems)
- Tested on an Hyperkin Retron5 system.
- Not compatible with Genesis 3 systems.
Usage
Most of the time, installing the adapter (in the correct direction), inserting the cartridge and applying power is all that is needed. But there can be some issues depending on the game:1) Controller problems
Some games won't work properly using Megadrive controllers. A solution is to Master System controllers instead, or to build a special adapter.
2) Start-up problems
When an SMS game is run on a Megadrive console, there is no bios to run before the game. The CPU executes the game right from the start. This can be a problem for games which rely on intialization normally performed by the bios, in particular setting up the stack pointer. (I learned about this thanks to reference #5)
A quick workaround to this is to first run SMS game that does not have this problem, turn off the power, insert the non-starting game and reapply power. Now the game should start. This is because even following the power cycle, the stack pointer register bits haven not faded away yet and are still at the last value used!
February 2015: The above manipulations can be avoided by adding a stack initialisation circuit!
Here are the tested games:
| Titre | Megadrive controller (1) | Stack pointer (2) |
|---|---|---|
| Alex Kidd in Miracle World | Ok | Ok |
| Aztec Adventure | Ok | Not setup |
| Fantasy Star | Ok | Ok |
| Kenseiden | Ok | Ok |
| Lord of The Sword | Ok | Ok |
| R-Type | Ok | Not setup |
| Shinobi | Ok | Not setup |
| World Games | Ok | Ok |
| Sydney Hunter | ? | Not setup |
Schematic
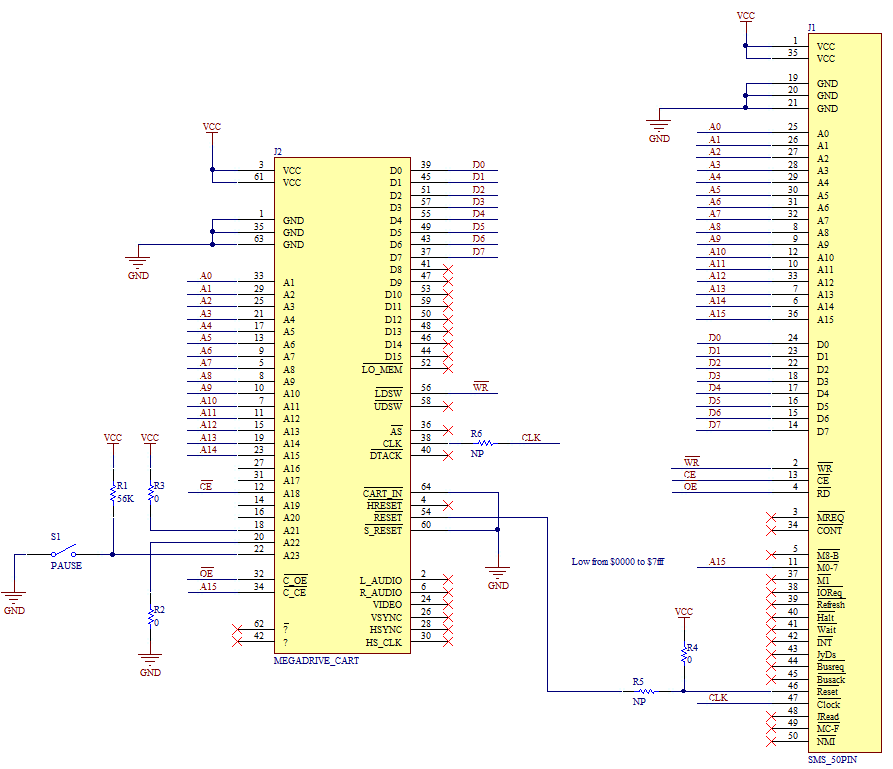
Here is the schematic. I drew it using the following two sources, which agreed on the wiring:- A wiring table posted in the smspower.org forums (see reference 1)
- A wiring diagram, complete albeit a bit difficult to follow... (reference 5)
I took the opportunity to add a few optional 0-ohm resistors to make it easier should I need to wire some of the signals differently. (In my schematic, the resistors labelled "NP" for not placed should not be normally installed.)
PCB
I designed and had a PCB built specifically for this project. Basing my adapter on a rewired SMD cartridge would have taken too much time. I kept height of the PCB low as I did not wish to have the SMS cartridge hanging too high when using the adapter.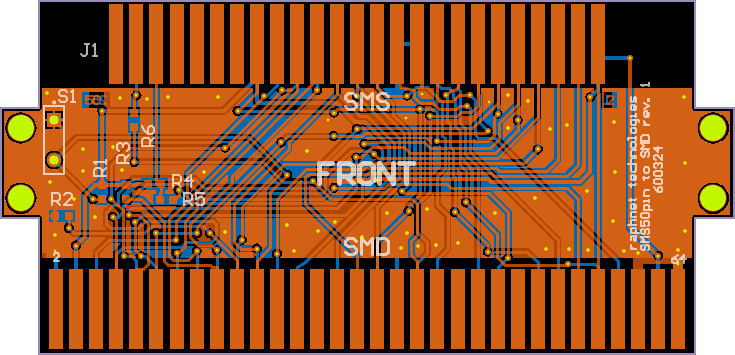
I ordered the PCBs from a professional manufacturer, but here are the gerbers in case you feel patient enough to manufacture them yourself.
gerbers_sms2smd_v1.zip
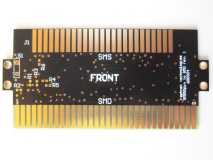
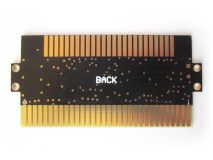
Here are the pictures of the PCBs I received. They are available in kit, optionally pre-assembled, in my online store.
Enclosure
I also designed an enclosure specifically for this project. Details are given on another page.Controller fix
There are a few games that will not work properly with Genesis/Megadrive controllers. A solution is to use SMS controllers, but it is also possible to build this compatibility adapter. The idea is to keep the SELECT signal on the controller side high through a resistor (100kΩ).I don't personally own any games where this adapter is necessary, so I have not built one. But ishiyakazuo who suggested this solution says it works great.
There is a list games needing this fix in the db-electronics forum:
http://db-electronics.freeforums.net/thread/12/genesis-controller-compatibility
As of 2014-10-31, the games known to require SMS controllers or the fix presented here were:
- Alien Syndrome
- Bomber Raid
- Great Volleyball
- Montezuma's Revenge
- Shanghai
- Where in the World is Carmen Sandiego?
- Wonder Boy in Monster Land
References
| # | Link | Description/comments |
|---|---|---|
| 1 | http://www.smspower.org/forums/viewtopic.php?t=6875 | SMS to SMD adapter wiring table. |
| 2 | http://nfggames.com/forum2/index.php?topic=3991.0 | Pictures of the internals of a non-Sega commercial adapter named "Datel Pro Mega Master". What a name! |
| 3 | http://www.hardwarebook.info/Mega_Drive_Cartridge | SMD cartridge pinout. |
| 4 | http://www.smspower.org/maxim/Documents/Pinouts | Pictures and pinouts for a SMS cartridge. This was of great use to double-check that I made no mistake with the connector orientation. There's also information on the connector used on Japanese systems which should be useful if I make a Japanese version of this adapter. |
| 5 | http://www.smspower.org/forums/viewtopic.php?t=14084 | A very interesting discussion which begins with technical information on the custom chip Sega uses in it's own adapter (It looks like this chip initializes the stack, required for some games). Farther in the discussion, there is a schematic (sega2sms.png) a bit difficult to follow, but useful, and matching the wiring table above in reference 1 |
Disclaimer
I cannot be held responsible for any damages that could occur to you or your equipment while following the procedures present on this page. Also, I GIVE ABSOLUTELY NO WARRANTY on the correctness and usability of the informations on this page. Please note, however, that the procedures above have worked in my case without any damages or problems.Now you cannot say that I did not warn you :)
