Sega Saturn controller to USB adapter
Project overview
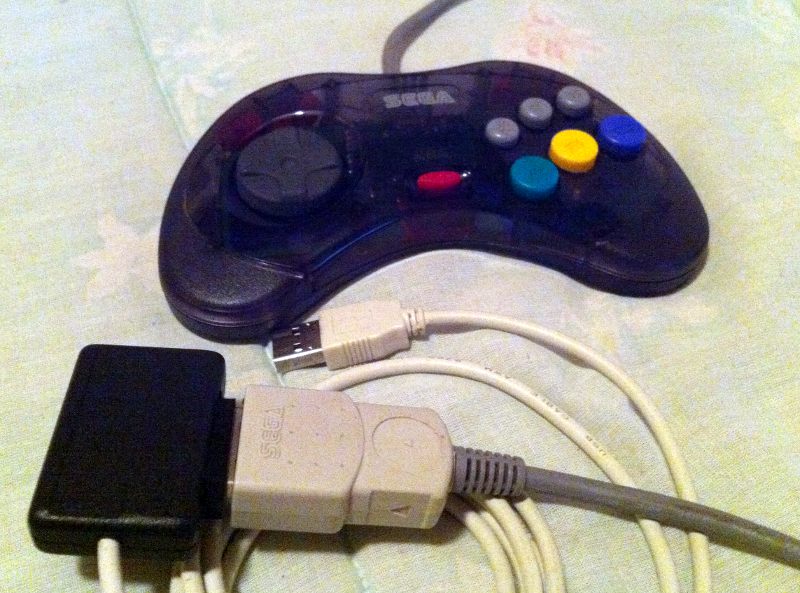
This projects makes it possible to use Sega Saturn peripherals (controllers,
mouse) on a PC through an USB port. Using the schematic and firmware available
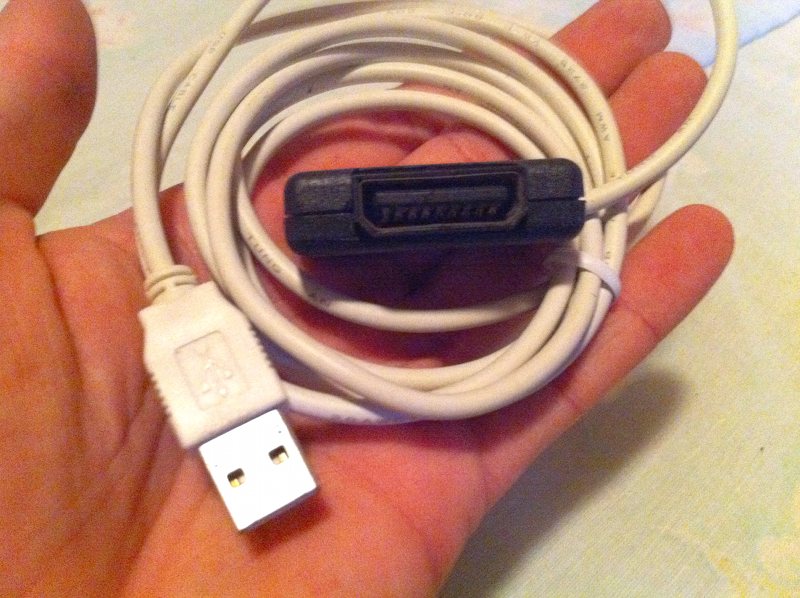
on this page, one can make an adapter (Using the connector from a Saturn extension)
or convert a controller (if it has enough internal free space).
The current firmware supports:
The current firmware supports:
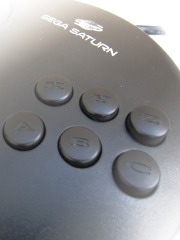
- The Basic controllers (ABCXYZ, L/R and Start buttons)
- The analogic controller.
- The mouse (aka "Shuttlemouse")
 Ready-made adapters available from the online shop!
Picture Gallery
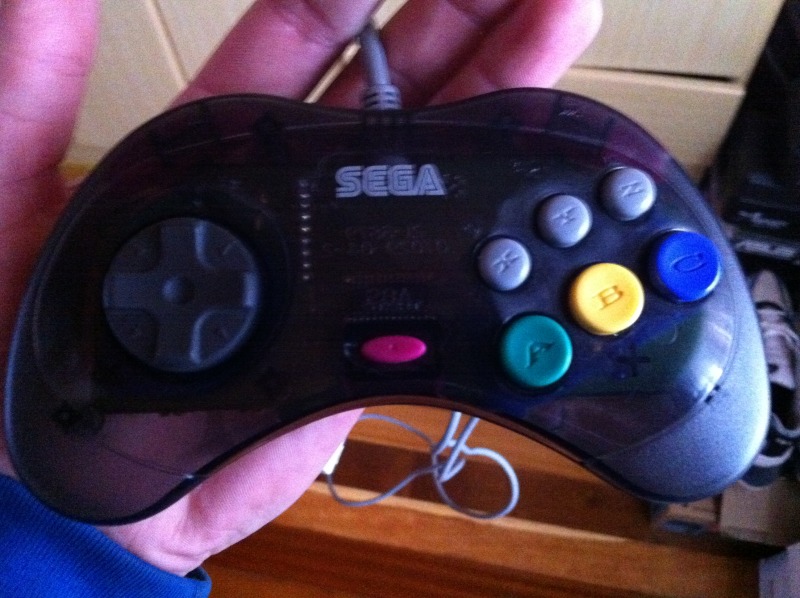
Here are the peripherals I developped this adapter with: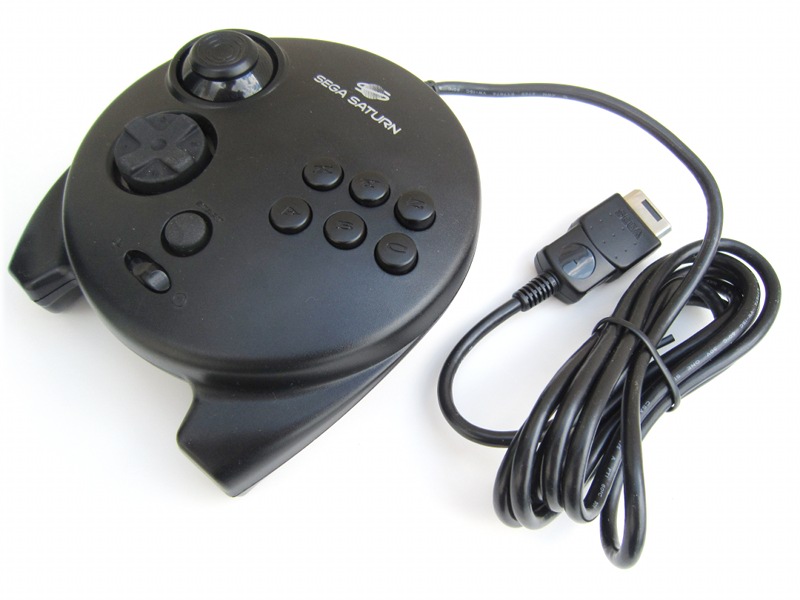
Official Sega Analog MK-80117
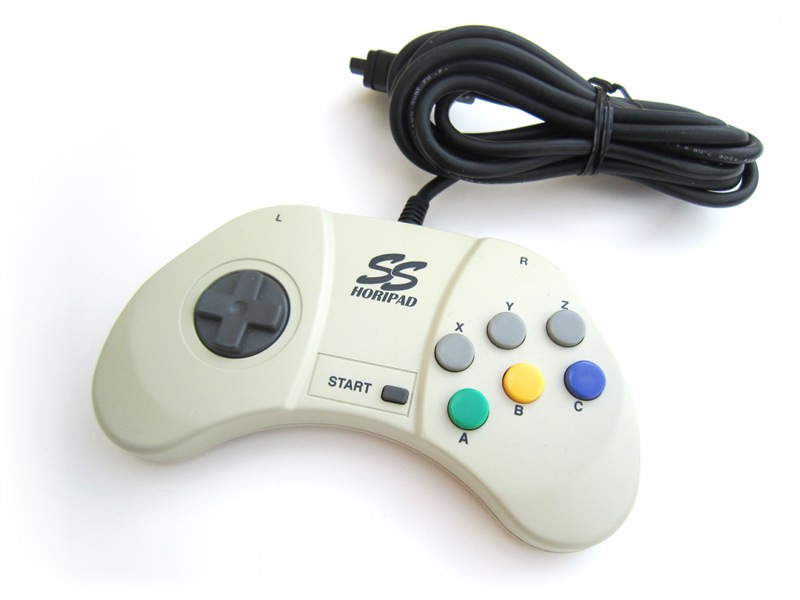
'HORIPAD SS'. Model HSS-11
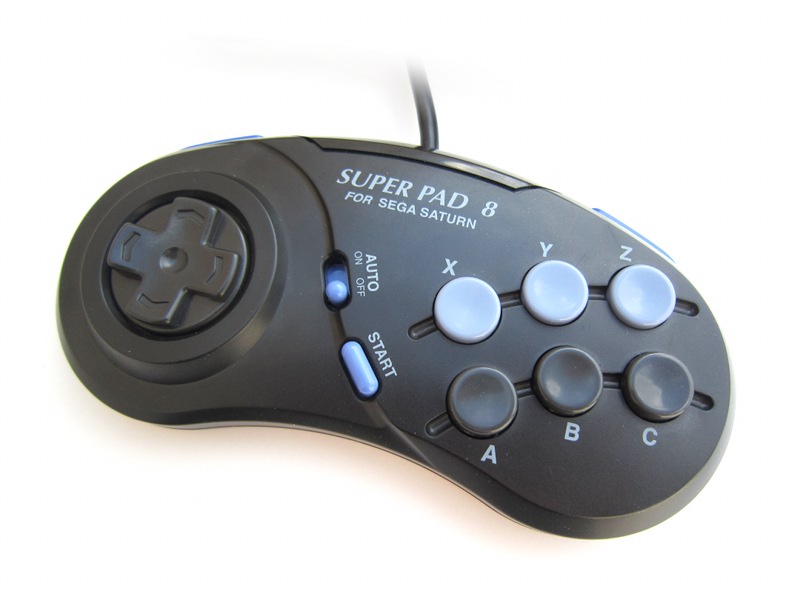
Performance Super Pad 8. Model P-400
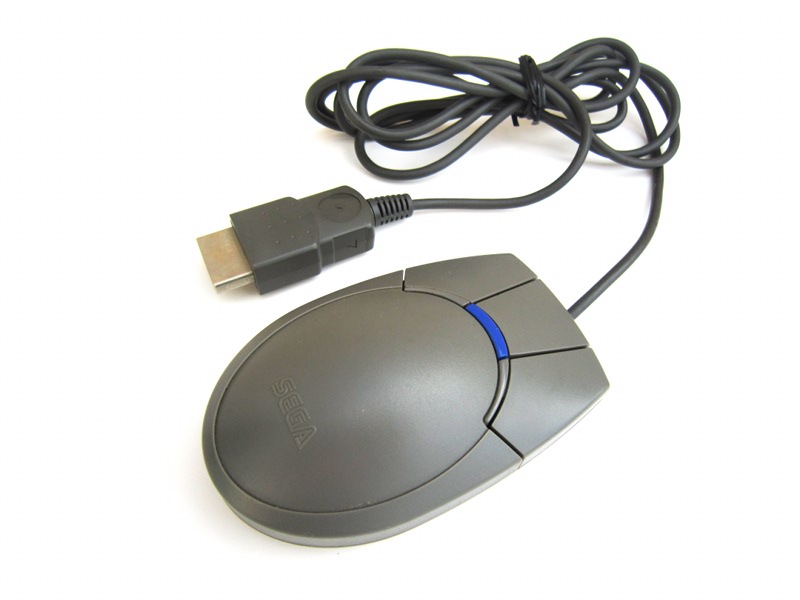
Sega 'shuttlemouse' HSS-0102
Also works with the Sega HSS-0101 and MK-80116.
If you are able to test with other controllers, let me know and I will mention them here.
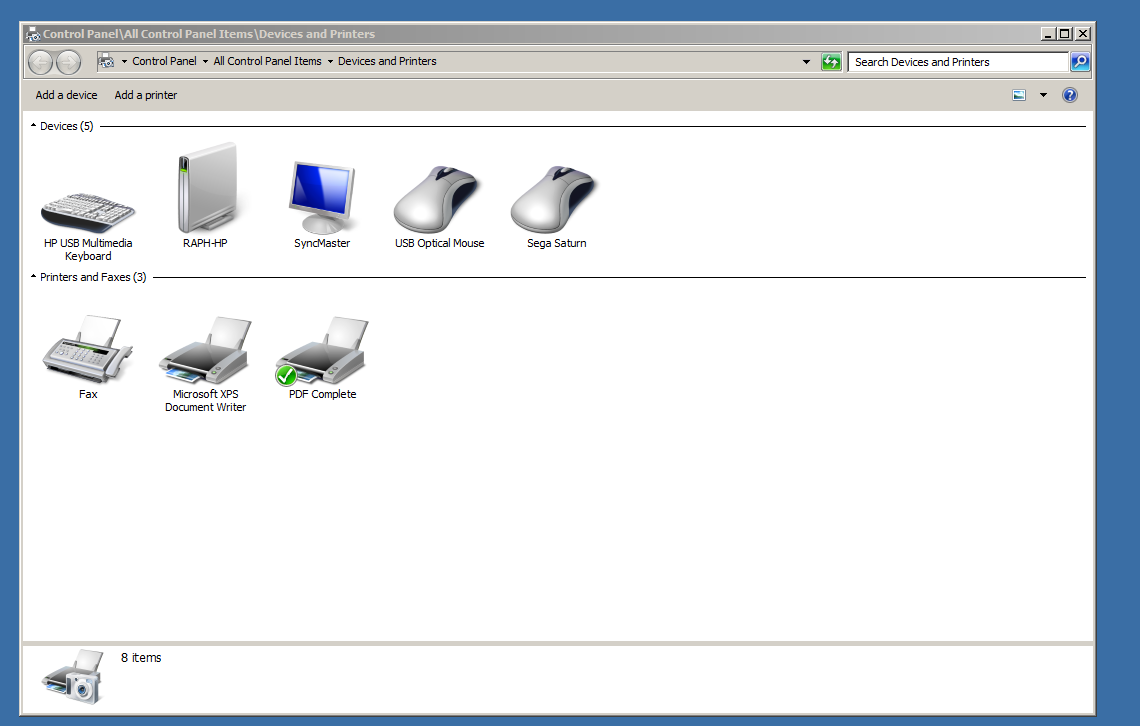
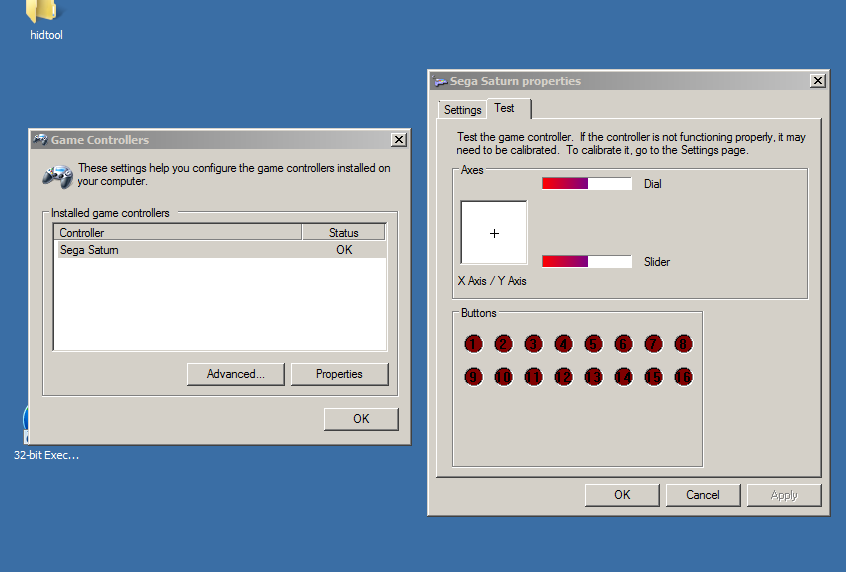
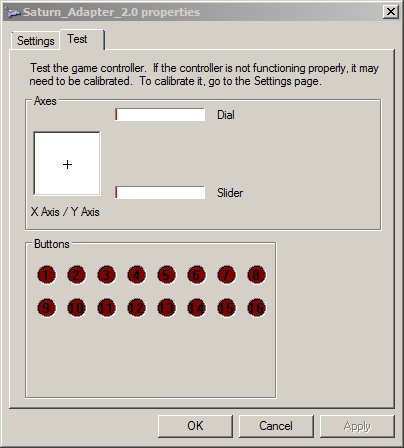
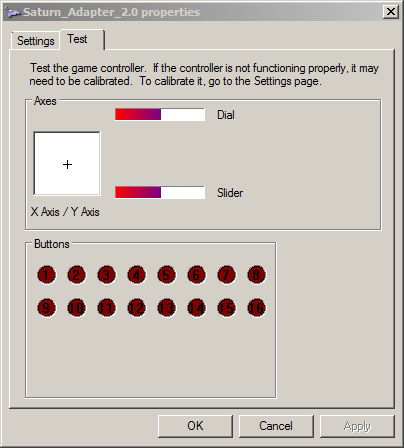
As the following pictures demonstrate, the adapter is handled as a mouse/joystick hybrid under Windows 7:

Contributed pictures:
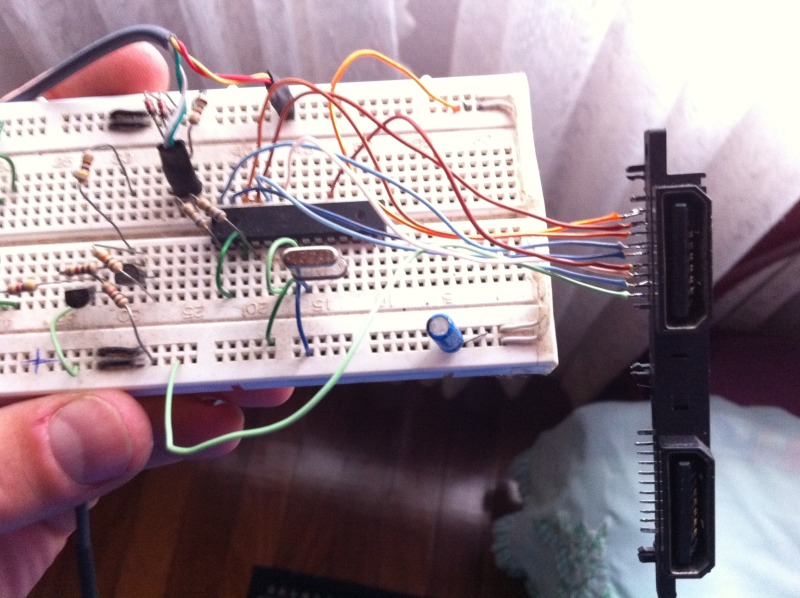
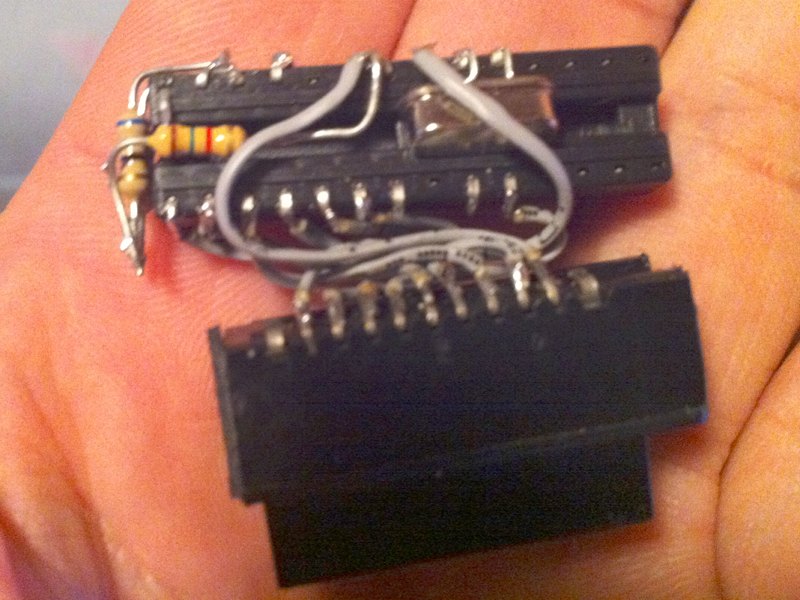
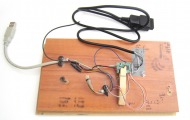
William Schneider sent me the following picture of this project assembled in a breadboard. He also confirmed that everything works fine with the Sega HSS-0101 controller, and that firmware version 1.1 works very well with the PS3:
Prototype
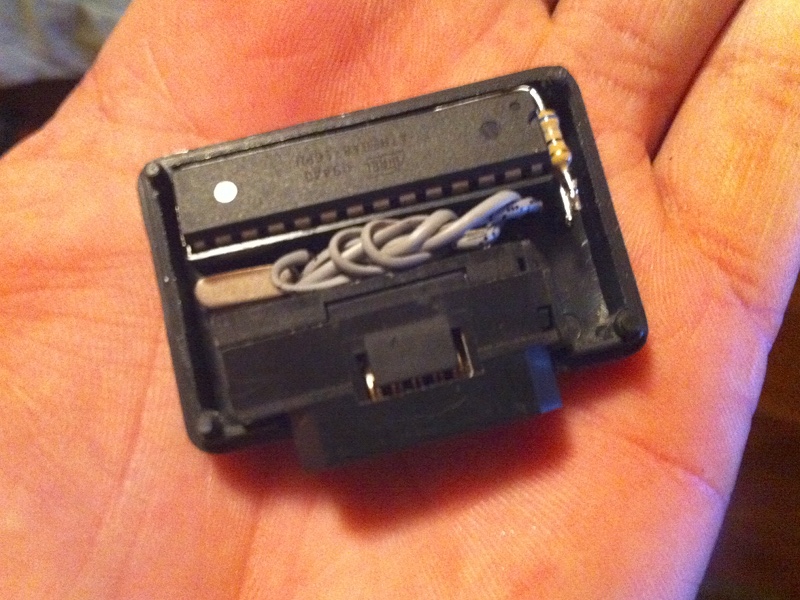

Final assembly
Final assembly
Sega HSS-0101
Button mappings
The following mappings are available. To enable specific mapping, press and hold the corresponding button, connect the adapter (or power-up the console/computer), and release the button.| SLS (default) | ||
|---|---|---|
| Saturn | USB | PS3 |
| A | 2 | X |
| B | 3 | Circle |
| C | 6 | R1 |
| X | 1 | Square |
| Y | 4 | Triangle |
| Z | 5 | L1 |
| S | 10 | Start |
| L | 7 | L2 |
| R | 8 | R2 |
| SLS Alt (hold A) | ||
|---|---|---|
| Saturn | USB | PS3 |
| A | 2 | X |
| B | 3 | Circle |
| C | 6 | R1 |
| X | 1 | Square |
| Y | 4 | Triangle |
| Z | 5 | L1 |
| S | 9 | Select |
| L | 7 | L2 |
| R | 8 | R2 |
| VIP (hold B) | ||
|---|---|---|
| Saturn | USB | PS3 |
| A | 1 | Square |
| B | 2 | X |
| C | 3 | Circle |
| X | 4 | Triangle |
| Y | 5 | L1 |
| Z | 6 | R1 |
| S | 9 | Select |
| L | 7 | L2 |
| R | 8 | R2 |
| v1.0 (hold C) | ||
|---|---|---|
| Saturn | USB | PS3 |
| A | 1 | Square |
| B | 2 | X |
| C | 3 | Circle |
| X | 4 | Triangle |
| Y | 5 | L1 |
| Z | 6 | R1 |
| S | 7 | L2 |
| L | 8 | R2 |
| R | 9 | Select |
On the PS3, the SLS (default) and SLS Alt mappings are usually the most suitable. They have been reported to work well for Super Street Fighter IV, Tekken 6, BlazBlue: Continuum Shift, Virtua Fighter 5, Arcana Heart 3, Hard Corps: Uprising, Soul Calibur, Disgaea 3 and Mortal Kombat 9.
Configuring the 3D controller
Configuring the 3D controller is often complicated due to the L/R levers in the back of the controller which do not rest in a centered position. Typically, the issue arises when performing button assignment in the emulator (eg: Yabuse) configuration dialog. As soon as a button assignment is attempted, the emulator sees L or R being active and immediately maps L/R to the button or axis that was to be configured.Under windows, you can execute this tool which patches the calibration data as to make the game think the levers rest at a centered position, and thus perceive them as inactive unless of course you push them.
Download: gc_calfix_ng.exe
Before the fix
After the fix
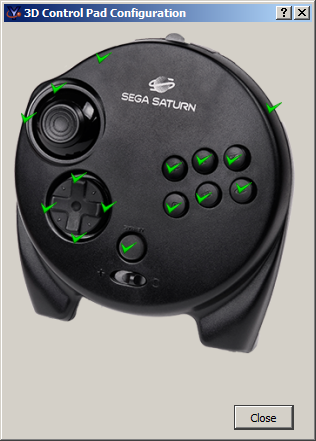
Configured 3D controller
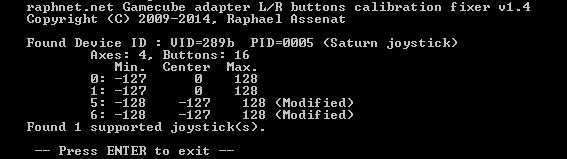
Executing the tool
Ideally, emulators should never consider physical buttons/axis as active unless them become active after the input being configured was selected. This kind of issue would be avoided...
Schematic
I used my usual Atmega8 circuit with a custom firmware using the Objective Development AVR-USB device implementation.Here is the core schematic. For wiring the controller, use the table below.
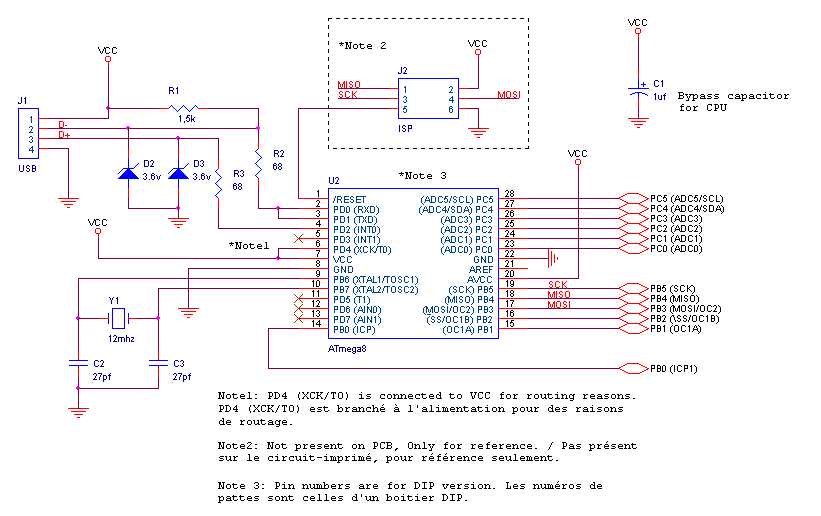
| Saturn connector pin no. | MCU signal | Description/ Name(s) |
|---|---|---|
| 1 | N/A | 5 volts supply / VCC |
| 2 | PC2 | D1 |
| 3 | PC3 | D0 |
| 4 | PC5 | S0 |
| 5 | PC4 | S1 |
| 6 | PB5 | D5 or TL (handshake) |
| 7 | PC0 | D3 |
| 8 | PC1 | D2 |
| 9 | N/A | GND |
I used the information on the following as a starting point:
Sega Saturn Pad Info.
The signal labelled as "+5v (Inp)" in the above mentionned webpage is in fact a logic output used by the Analogic controller and mouse. This signal is part of an handshake mechanism used to transfer a sequence of values. In fact, these peripheral communicate exactly like the Genesis multitap do. For details:
http://www.raphnet.net/divers/documentation/genesis_multitap.txt
Component list:
| Ref | Description |
|---|---|
| U2 | Atmega8a or Atmega8 microcontroller. Don't use an ATMEGA8L-*, the 12Mhz clock would be too high. |
| R1 | 1.5k resistor. Ordinary carbon film 1/4 watt resistors will do. |
| R2, R3 | 68 ohm resistors. Ordinary carbon film 1/4 watt resistors will do. |
| D2, D3 | 3.6 volts zener diodes. |
| Y1 | 12 Mhz crystal. |
| C2, C3 | 18 pf capacitors. If the crystal datasheet recommends another value, use it instead. |
| C1 | 1uf capacitor. Install it near the ATmega8 power pins. |
| J2 | 6 pin header, 2.54mm spacing. Needed for programming the ATmega8. |
For the USB connection, just strip the USB cable and solder the wires directly to the board. USB uses standard wire colors, but beware of cheap cables built with non-standard color codes.
| Color | Description | |
|---|---|---|
| Red | +5 volts | |
| Black | Ground | |
| Green | D+ | |
| White | D- |
Programming and Source code
 A microcontroller is a component which must be programmed in order to do
something useful. So here is the hexfile which must be flashed into the microcontroller:
A microcontroller is a component which must be programmed in order to do
something useful. So here is the hexfile which must be flashed into the microcontroller:Many microcontrollers have what is called 'Fuse bytes'. In the case of the ATmega8, there are two bytes: The high byte, and the low byte. Those bytes are used to configure some aspects of the microcontroller. What type of clock to use? Crystal? Resonator? Internal RC clock? Allow programming via ISP? It's very important to set the fuses to the right values. Using the wrong values can render your MCU unusable.
For this project, here are the appropriate fuse values:
high byte = 0xc9, low byte = 0x9f
For details about how to program an AVR, visit my AVR programming page.
 The source code is released under the GPL license and compiles with avr-gcc. To prevent conflicts,
please do not distribute modified version where the USB report descriptor has
been modified without replacing the USB Vendor ID and Product ID by yours.
The source code is released under the GPL license and compiles with avr-gcc. To prevent conflicts,
please do not distribute modified version where the USB report descriptor has
been modified without replacing the USB Vendor ID and Product ID by yours.Contact me here (raph@raphnet.net) if you made some interesting improvements.
USB Vendor ID/Product ID pair:
Please do not re-use my VID/PID for derived projects. Please obtain your own numbers (or invent one despite the risks). I bought my IDs from mecanique. They used to sell small chunks of the PID space which was much cheaper than buying a vendor ID from usb.org (2000$ USD)...
| Version v2.0 July 14, 2013 |
|---|
Compatiblity improvement:
|
| File(s): saturn_usb-2.0.tar.gz (66.2 KB) saturn_usb-2.0.hex (12 KB) |
Show previous releases...
| Version v1.1 July 27, 2011 |
|---|
|
| File(s): saturn_usb-1.1.tar.gz (71.2 KB) saturn_usb-1.1.hex (11.8 KB) |
| Version v1.0 July 2, 2011 |
|---|
|
| File(s): saturn_usb-1.0.tar.gz (68.1 KB) saturn_usb-1.0.hex (11 KB) |
 This project is also available on GitHub!
To request features, report issues or contribute, you may send me an email or use the GitHub repository:
https://github.com/raphnet/saturn_usb
PCB for surface-mount
The surface-mount version uses my Multiuse PCB2 circuit. Here's what it looks like:
Multiuse PCB2: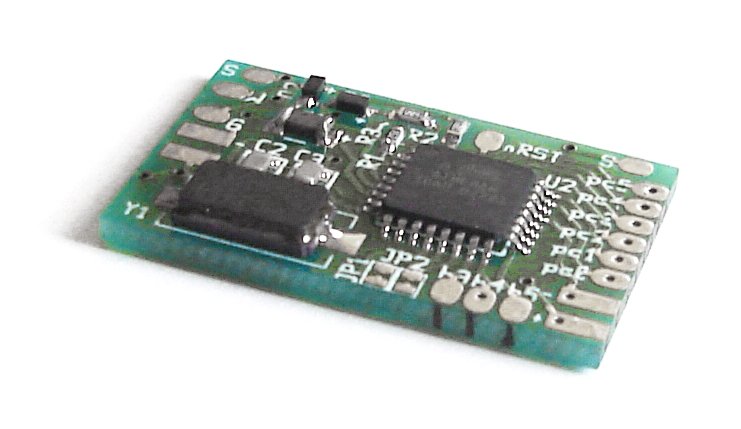
|
Disclaimer
I cannot be held responsible for any damages that could occur to you or your equipment while following the procedures present on this page. Also, I GIVE ABSOLUTELY NO WARRANTY on the correctness and usability of the informations on this page. Please note, however, that the procedures above have worked in my case without any damages or problems.Now you cannot say that I did not warn you :)