AnodeSNES
Inspiration
 When I finally found a supplier for SNES compatible connectors, I contemplated building an
adapter in a machined aluminium casing, as I had done for NES controllers (see Anode NES).
But this type of casing is not inexpensive and I was not sure there would be takers. So put
the idea aside and instead built a casing combining acrylic and wood (see Acrylic SNES).
When I finally found a supplier for SNES compatible connectors, I contemplated building an
adapter in a machined aluminium casing, as I had done for NES controllers (see Anode NES).
But this type of casing is not inexpensive and I was not sure there would be takers. So put
the idea aside and instead built a casing combining acrylic and wood (see Acrylic SNES).However one year later, encouraged by a few requests, I finally decided to design AnodeSNES.
About the name: AnodeSNES combines the word anode (refering to the finishing process, anodizing) and the SNES acronym (which stands for Super Nintendo Entertainment System), refering of course to the game system the adapter supports the controllers of.
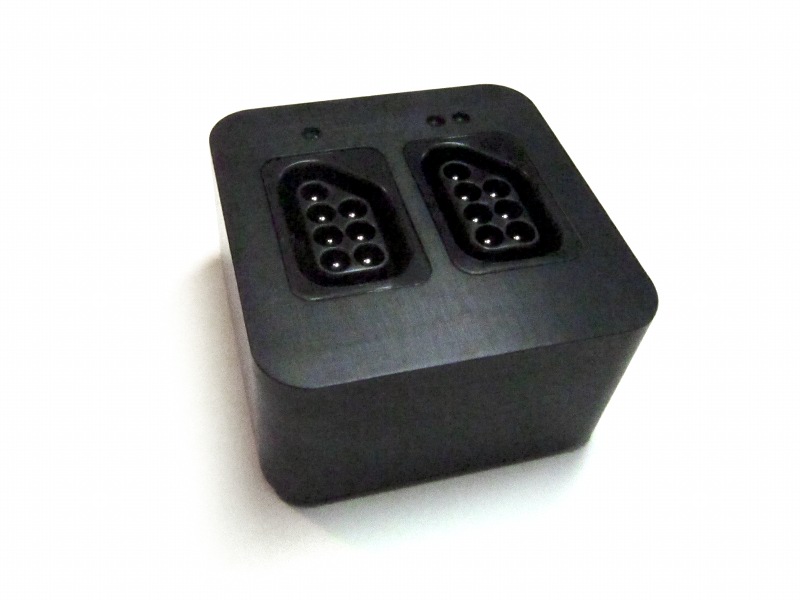
First AnodeNES (2012)
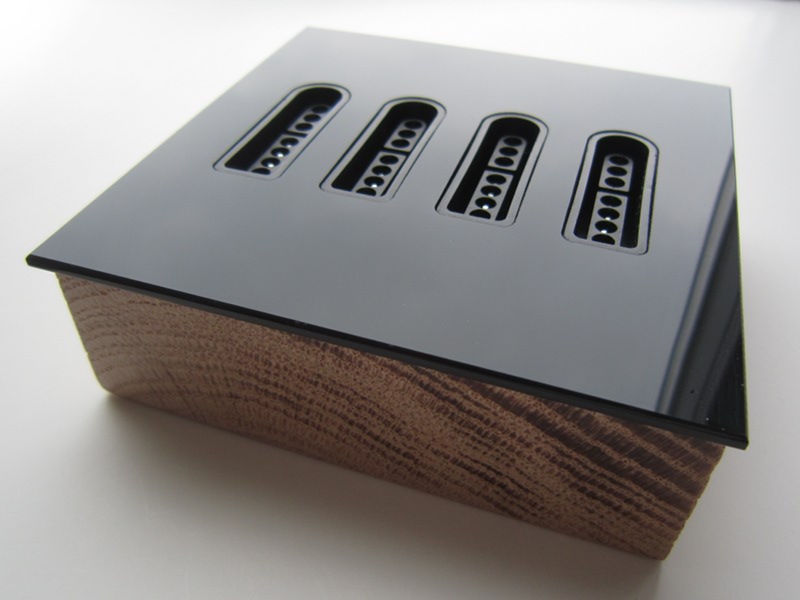
Then Acrylic SNES (2013)
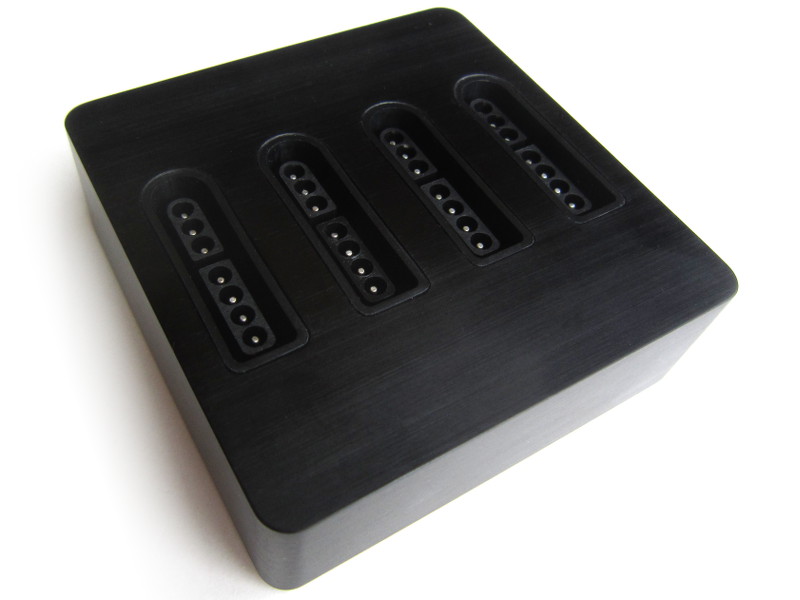
Finally, AnodeSNES (2014)
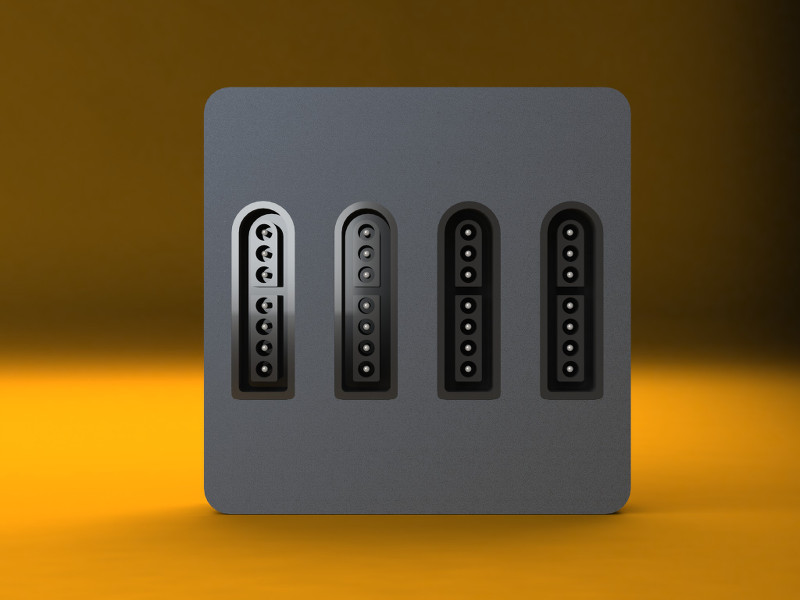
Concept
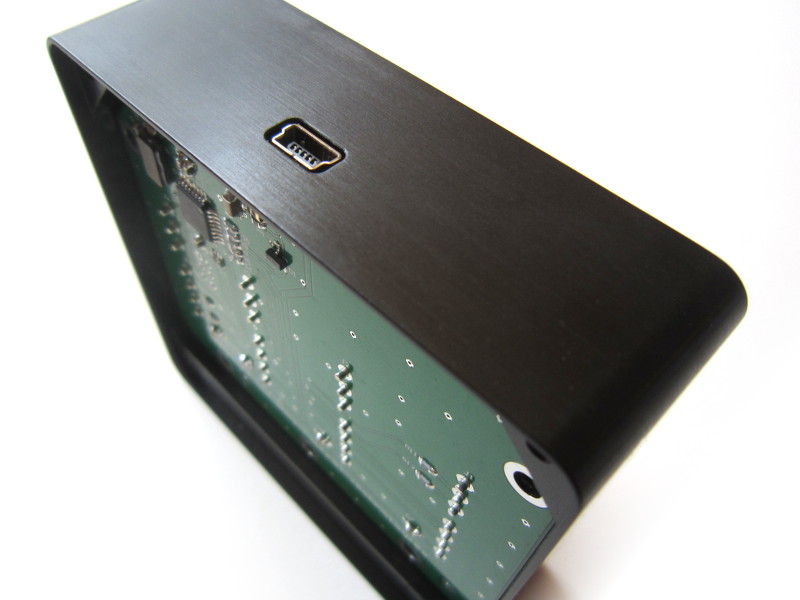
The upper face of the enclosure is square with the connectors are centered. The distance between connectors has been minimised and based on the geometry of existing game controllers (measurements taken on Nintendo and 3rd party controllers). The weight of the enclosure, increased by the use of thick stainless steel for the bottom cover, yields good stability.The casing is machined in a single aluminium block on a CNC milling machine and is designed to ease fabrication using this technique:
- Keep as much material as possible. Primarily inside the enclosure, this implies not removing material unless necessary due to interference with the circuit or connectors.
- Filleting concave corners.
- Straight sides (In the Z axis)
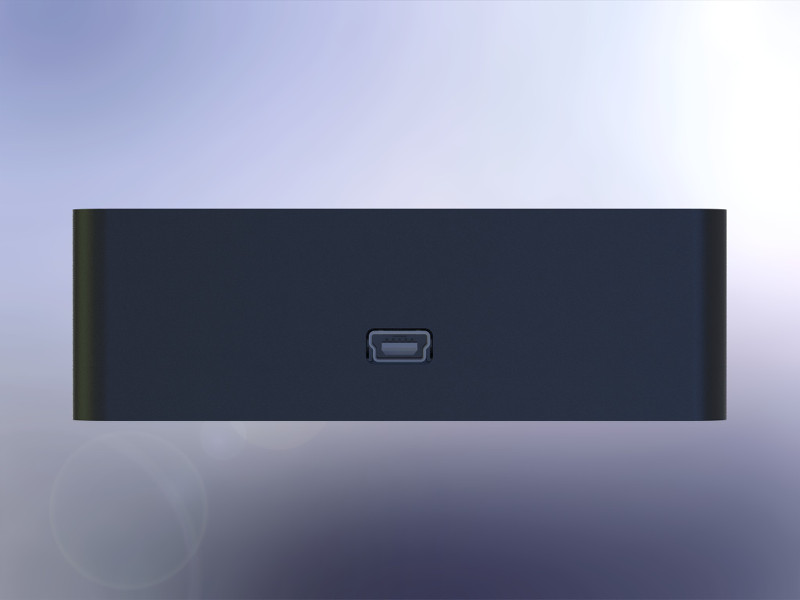
- Design thought to keep setups to a minimum (1: Machine the pocket for the PCB and the contour, 2: Machine the USB connector slot)
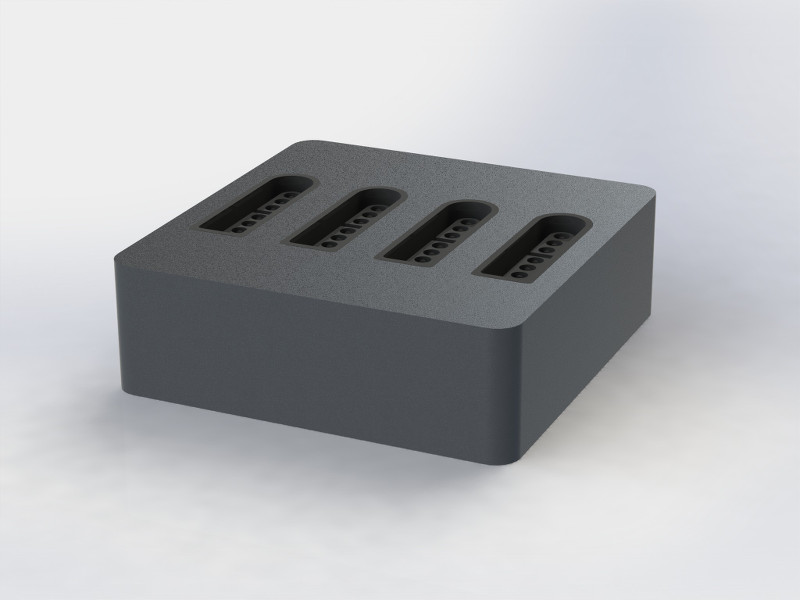
The concept
The concept
The concept
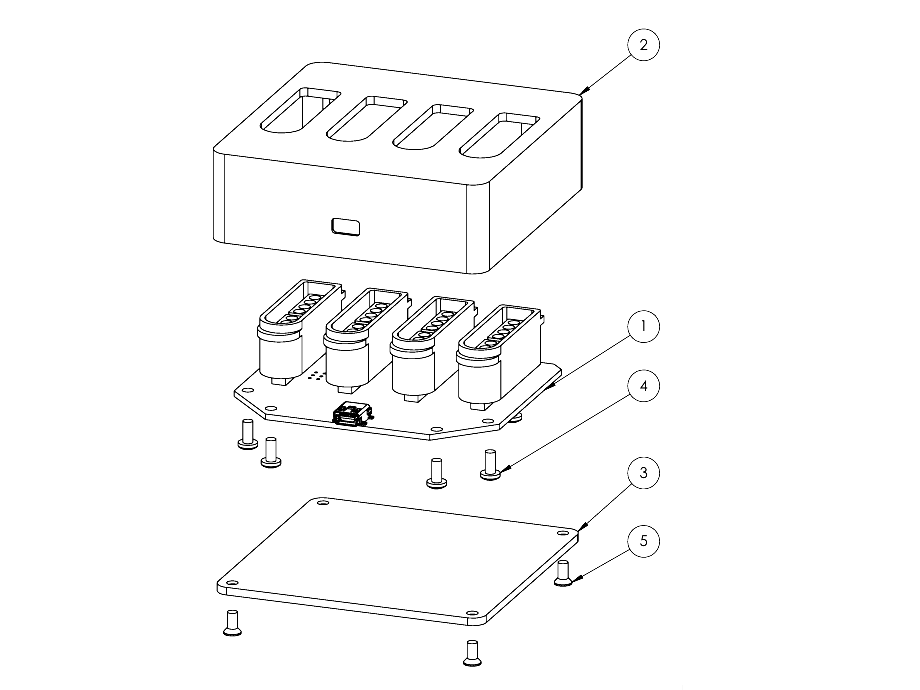
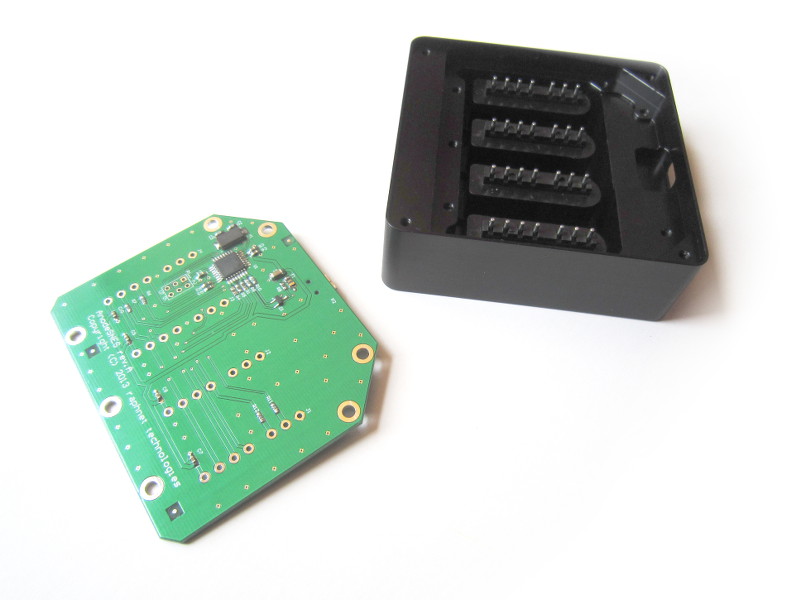
Exploded view
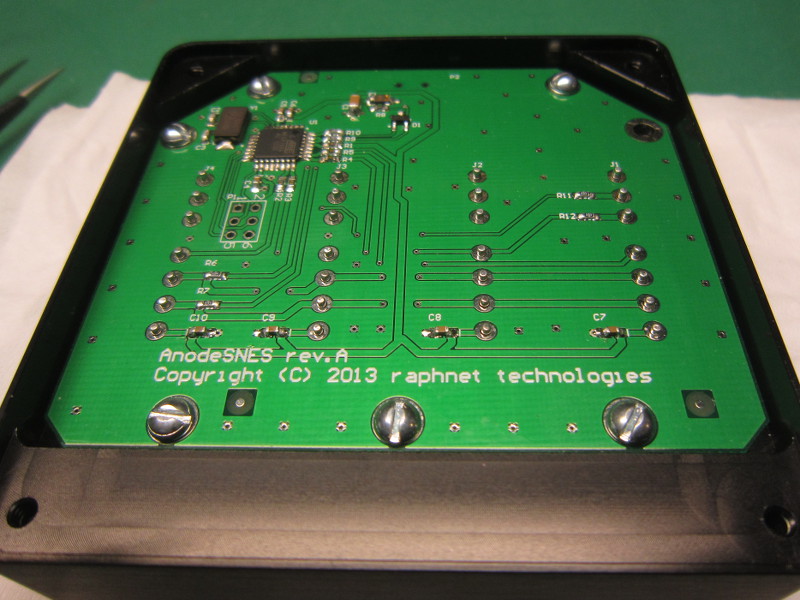
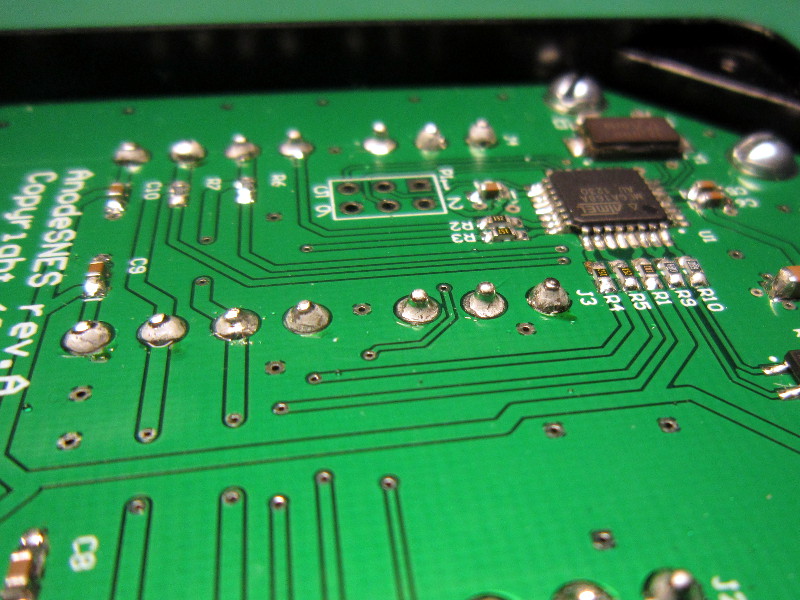
Circuit board
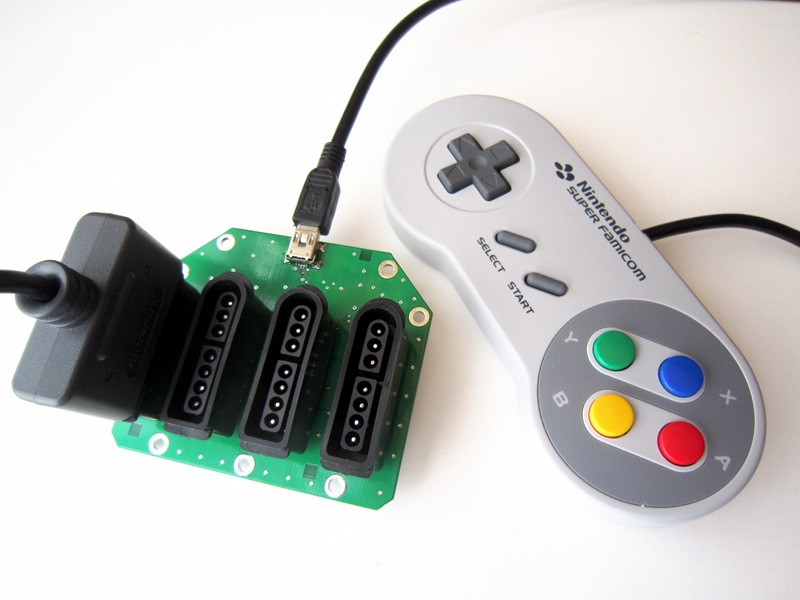
The PCB used for AnodeSNES is the one used first by Acrylic SNES and is simply an implementation of 4nes4snes using an Atmega168a micro-controller.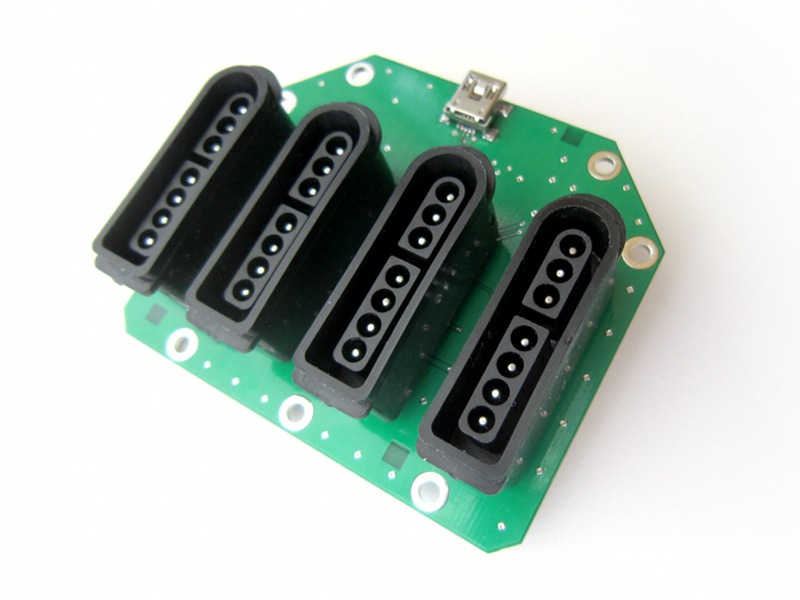

Assembly and pictures
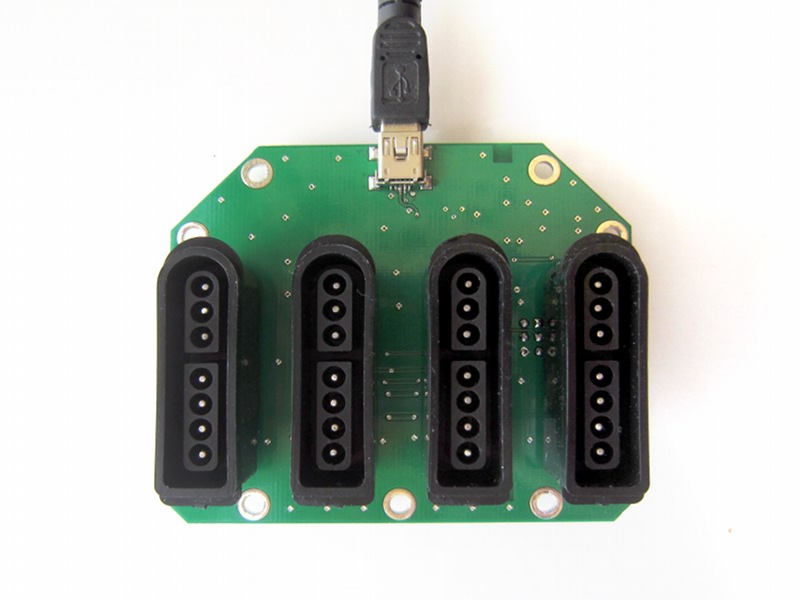
The connectors mate with the enclosure so tightly that they cannot be installed beforehand on the PCB. First, proper alignment is critical (They'd have to be soldered perfectly straight). Second, the protruding USB connector does not make installation possible without tilting the PCB.Assembly is therefore done in the following order:
- Inserting the SNES connectors
- Inserting the PCB
- Installing the PCB fixation screws
- Soldering the connectors
- Installing the bottom cover
- Installing an anti-slip pad (not shown)

Assembly...
Assembly...
Assembly...
Assembly...
Soldered connectors
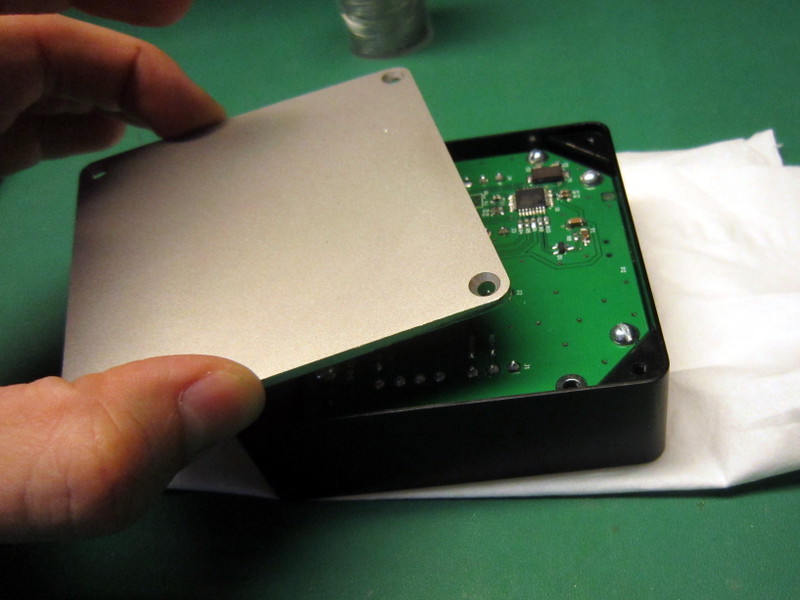
Installing the cover
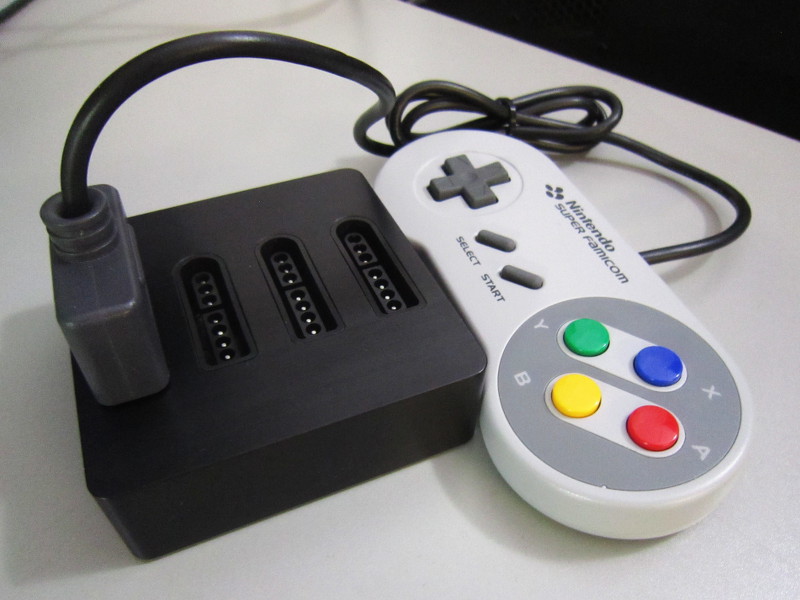
Result

Result