My PCB fabrication technique
Introduction
Over the past few years, I have received emails with a variety of questions regarding my PCB fabrication technique, so I thought I could create a page giving more details. The only techique I ever successfully used for etching PCBs is the following. I never tried the toner transfer method, nor did I ever try the peroxyde + muriatic acid etching technique so I cannot comment about those methods.Nowdays, I'm either busy or lazy so I usually pay to get the boards done professionally. I might cost more, but there are many advantages:
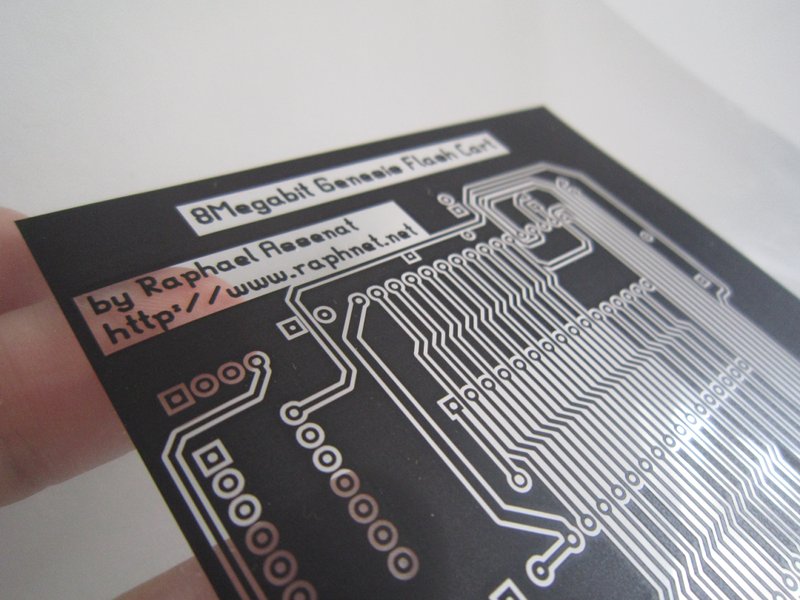
Transparency sheet
- You can get away with thiner artwork. This is always becoming more and more necessary.
- All the vias are through plated, so no more endlessly soldering small pieces of wire to connect them, and no need to adapt the artwork with great pain to reduce the number of vias.
- The end result with the green (or other color) solder resist paint not only looks great, it also prevents a lot of accidental solder bridges.
- The presence of a silk screen, if you pay for it, is also of immense help when assembling
- 4 layer boards are possible.
The technique
- Print the artwork on transparency sheets using a laser printer (or photocopier)
- Perform photo transfer using photosensitive copper clad boards. Finding the right distance and timing is a function of the type of boards you use and of your light source. Also, making sure there are no shadows and that the transparency sheet is maintained as close as possible to the board is a must. I used a thin glass panel for this. Thin to prevent absorbtion of too much UV, but still heavy enough to do the job.
- Develop the boards. With developer, then rinse with water. http://www.mgchemicals.com/products/418.html
- Etch using Ferric Chloride. This always took time, but with the right setup
it can be speedup a lot. I once had a vertical tank, with an acquarium heater and
air bubble maker in the bottom. I don't remember the exact time it took to
etch, but I can say it was way faster than manually agitating at room temperature.
http://www.mgchemicals.com/products/415.html
A simpler way I once used was manual agitation combined with bain-marie style indirect heating. - Remove the photo resists with 99% isopropyl alchool.
- Prevent bare copper oxydation using liquid tin: http://www.mgchemicals.com/products/421.html (This was fun, any dipped copper parts would quickly become grey)