SNES controller to Atari/Commodore
Introduction
The adapter project published here lets SNES controller be used on Atari and Commodore computers. Perfect if you have arcade controllers for SNES only or simply prefer SNES controllers.Tested systems (working): Commodore 64 (NTSC and PAL), C64DTV (PAL), Amiga 500 (PAL), Amiga 600 (PAL), Atari 130XE (NTSC) and Atari VCS-2600 (PAL).
Not working: Minimig, Amiga CD32.
Note: NTSC vs. PAL does not make any difference but is given here for completeness.

Button mappings
| Atari/Commodore | Style 1 | Style 2 | Style 3 | Style 4 |
|---|---|---|---|---|
| D-Up | D-Up | B | A | D-down/A |
| D-down | D-down | D-down | D-down | D-up |
| D-left | D-left | D-left | D-left | D-right |
| D-right | D-right | D-right | D-right | D-left |
| Fire/Btn1 | A/B | A | B | B |
| Auto Fire/Btn1 | Y/R | Y/R | Y/R | Y/R |
| Btn2 | X/L | X/L | X/L | X/L |
Mappings are enabled by holding buttons on the SNES controller when connecting the adapter or turning the console on.
| Mapping | Activation |
|---|---|
| Style 1 | Default |
| Style 2 | Hold B |
| Style 3 | Hold A |
| Style 4 | Hold X |
Six different turbo speeds (30Hz, 25Hz, 20Hz, 16.667Hz, 15Hz and 12.5Hz) are available and cycled through by pressing the SELECT button. The default is 25Hz.
Pressing START enables/disables the auto-fire lock feature. When auto-fire lock is active, button 1 auto-fire runs continuously without the need to hold any button down.
Note: "Fire 2" is for Amiga only.
Note 2: When auto-fire is on, it can still be overridden by the fire button. (Allows mega-shoot in games like "R-TYPE")
Note 3: Auto-fire does not apply to Fire-2. (Eg: Calling the drone in games like "R-TYPE")
Wiring
I used a simplified version of my multiuse pcb2 for this project. The only components present are the microcontroller, capacitors, and a 16 MHz crystal.Schematic:

Wiring:
| DB9 Pin | Signal name | AVR pin name |
|---|---|---|
| 1 | UP | PC5 |
| 2 | DN | PC4 |
| 3 | LF | PC3 |
| 4 | RT | PC2 |
| 6 | Fire | PC1 |
| 7 | VCC | VCC |
| 8 | GND | GND |
| 9 | Fire 2 | PC0 |
Important: To enable Atari/Commodore mode, PB1 must absolutely be connected to GND
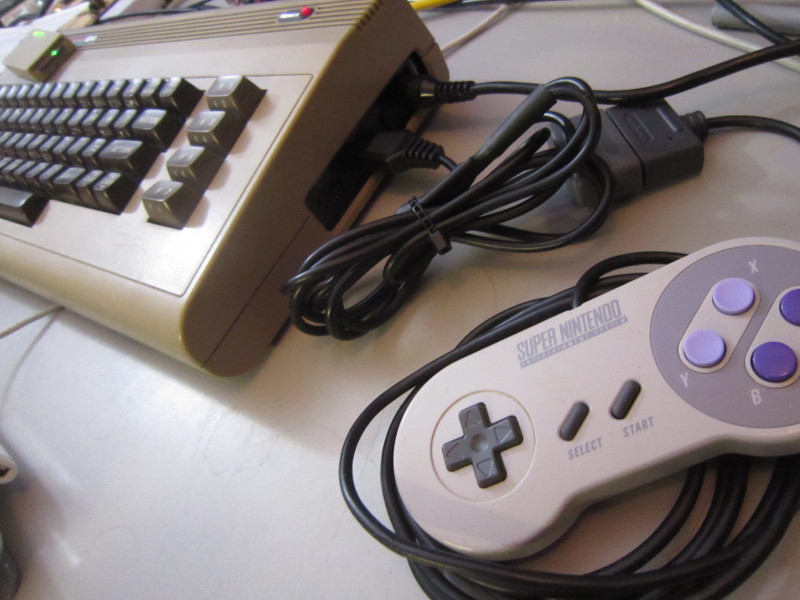
Here are a few pictures of my development setup, all wired according to the above tables.

Multiuse PCB2
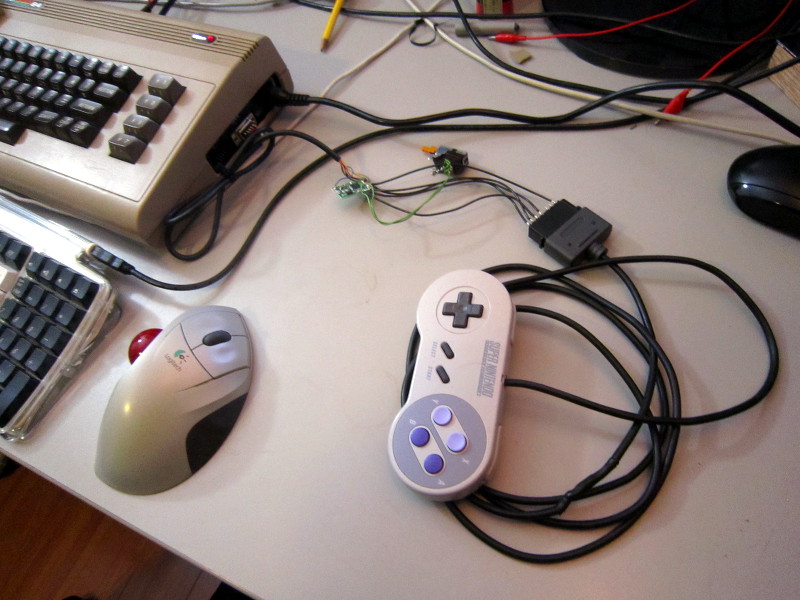
With a C64

With a C64
Firmware
Important: To enable Atari/Commodore mode, PB1 must absolutely be connected to GND
| Version v1.2 October 29, 2013 (Tuesday) |
|---|
New features:
|
| File(s): snes2md-1.2.tar.gz (19.8 KB) snes2md-1.2.hex (5.3 KB) |
Show previous releases...
| Version v1.1.1 October 20, 2013 (Sunday) |
|---|
| Updated Atari mode mappings. |
| File(s): snes2md-1.1.1.tar.gz (18.7 KB) snes2md-1.1.1.hex (3.4 KB) |
| Version v1.1 October 8, 2013 (Tuesday) |
|---|
Implemented Atari/Commodore support:
|
| File(s): snes2md-1.1.tar.gz (18.6 KB) snes2md-1.1.hex (3.4 KB) |
| Version v1.0 September 14, 2013 (Saturday) |
|---|
Initial release:
|
| File(s): snes2md-1.0.tar.gz (18.1 KB) snes2md-1.0.hex (2.8 KB) |
The Atmega8a has to be programmed using the .hex file. The "fuse bytes" for this project are high_byte=0xc9, low_byte=0x9f.
For more information about the tools required to program an AVR microcontroller, please visit my AVR programming page.
Source Code (.tar.gz files):
Unless indicated otherwise, the source code is published under the GPL license. Please consult the included LICENSE file for more information. The project compiles using the included makefiles using avr-gcc under Linux.
User pictures
I like seeing how others build my projects. If you build an adapter, please send me pictures and I'll add them here.Disclaimer
I cannot be held responsible for any damages that could occur to you or your equipment while following the procedures present on this page. Also, I GIVE ABSOLUTELY NO WARRANTY on the correctness and usability of the informations on this page. Please note, however, that the procedures above have worked in my case without any damages or problems.Now you cannot say that I did not warn you :)