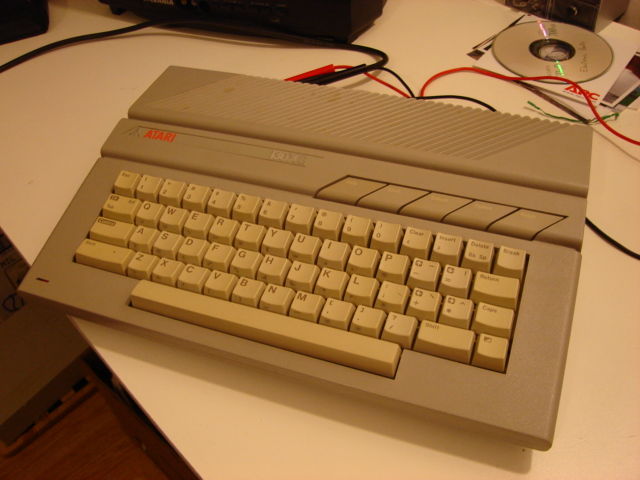
Repair of an Atari 130xe computer
About the Atari 130xe
Power adaptor


I found the power connector pinout in the Atari 8 bit FAQ: http://www.faqs.org/faqs/atari-8-bit/faq/. Here is the pinout, copied from the FAQ:
Power Adapter Plug (all but 400,800,1200XL,1400XL,1450XLD):
  7   6
3       1
 5     4
    2
1. +5V
2. Shield
3. Ground
4. +5V
5. Ground
6. +5V
7. Ground
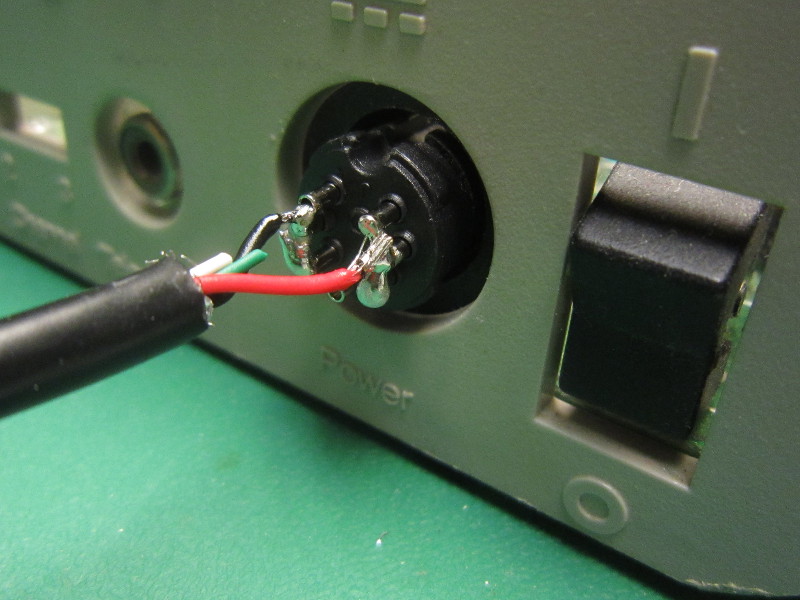
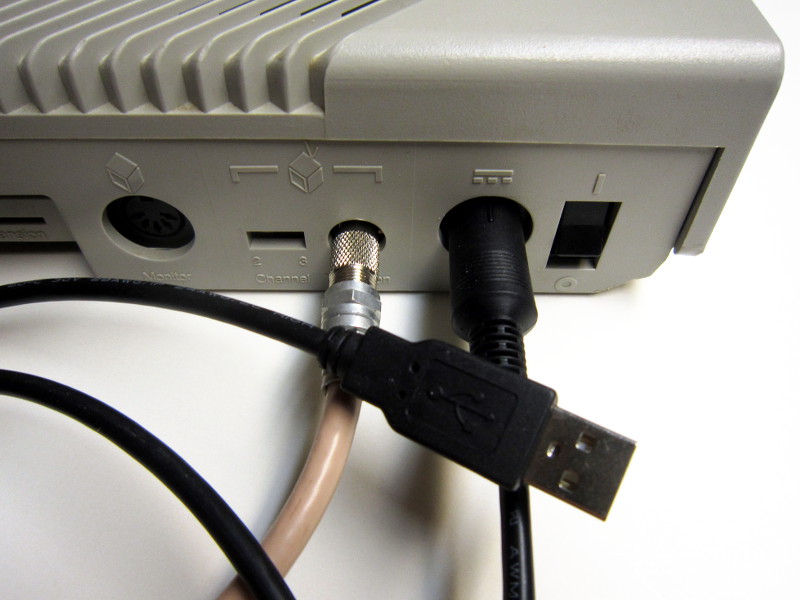
Note that the orientation shown above is what you see when looking at the back of the computer.Recently (January 2014) I built an USB power cable for this computer. USB power supplies capable of supplying enough current (~1A) are now very common, so an USB based solution is possible and convenient.


First problem: RAM

Bad ram


The DRAM chips that were initially installed in my atari were of the 4264 type. Luckily, I had some compatible memory chips in stock (some km41256-15). I used an elimination process to find the bad chip (swap old chip with new chip, test, put the old chip back...). In the end, there was only one bad chip.
Just for reference (It was hard to find) here is the pinout for the 4264 RAM chips:
       __  __
  NC -|  \/  |- Vss
 Din -|      |- /CAS
 /WE -|      |- Dout
/RAS -|      |- A6
  A0 -|      |- A3
  A2 -|      |- A4
  A1 -|      |- A5
 Vcc -|      |- A7
      '------'

Ok!
However, when I tried typing in a basic program, I discovered that some keyboard keys did not work :(
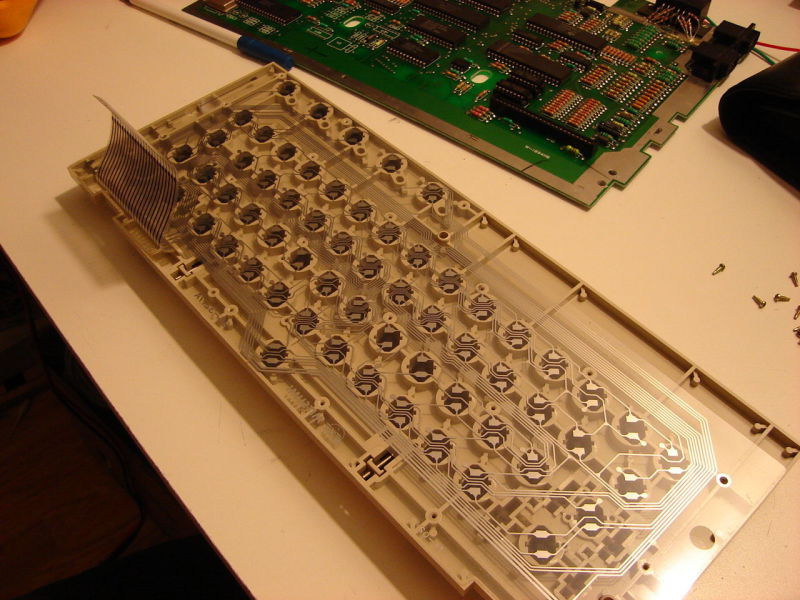
Second problem: Keyboard with non-working keys

I disconnected the keyboard and using a small piece of wire, I tried connecting a pair of keyboard connector pins in all possible combinations until I saw a non-working character appear on screen. So it was a keyboard problem!


(Note: This good idea is not mine. It's a suggestion someone named Aaron made in reply to a question about an Atari 800xl keyboard in the comp.sys.atari.8bit newsgroup in 1999. Here is a link to this thread on google groups.


SNES controller
Using SNES controllers with on an Atari 130xe is possible with my SNES to Atari/Commodore adapter.Future projects
Now that I have a functional Atari 130xe, I'm considering building an SIO2PC cable. With this cable, it's possible to connect the Atari with a PC with the PC emulating an Atari floppy drive. This means it is not necessary to use real disks (and to own a floppy drive, which I dont) to use software downloaded from the net...But since I dont have an SIO connector, I plan to build the interface directly inside the Atari. This means there will be a DB9 connector on the Atari.
I'm also thinking about buying or building a cartridge for games.
To be continued...